Explore Bluetti alternator chargers, how they integrate with vehicles, and when to choose Charger 1 vs Charger 2 for RVs and off‑grid setups.
Most on‑the‑road charging myths hinge on one assumption: a portable power station should stay in the back while you drive. In practice, a properly wired Bluetti alternator charger can keep your unit topped up while you roll, but the setup hinges on correct wiring and fuse sizing.
The payoff shows up on long trips: a steady top‑off prevents deep discharge cycles and preserves battery health, especially for heavy users like RVs and van lifers. This intro lays out the practical constraints you’ll see in the real world, from installation quirks to heat during sustained charging, so you can decide if the on‑the‑road boost is worth the occasional wiring check. Bluetti’s system works best when you understand the limits and the exact wiring order. Install them correctly and you can reliably top off during long drives, but double‑check vehicle wiring and fuse ratings first.
Bluetti alternator chargers in practice: what they are and when to use them
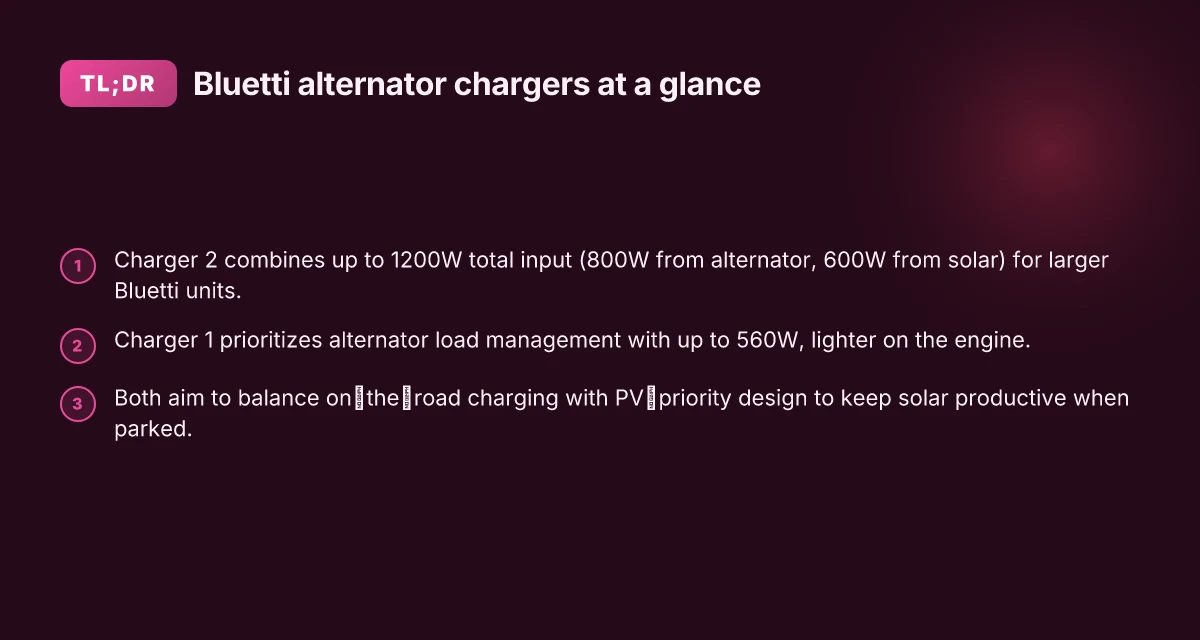
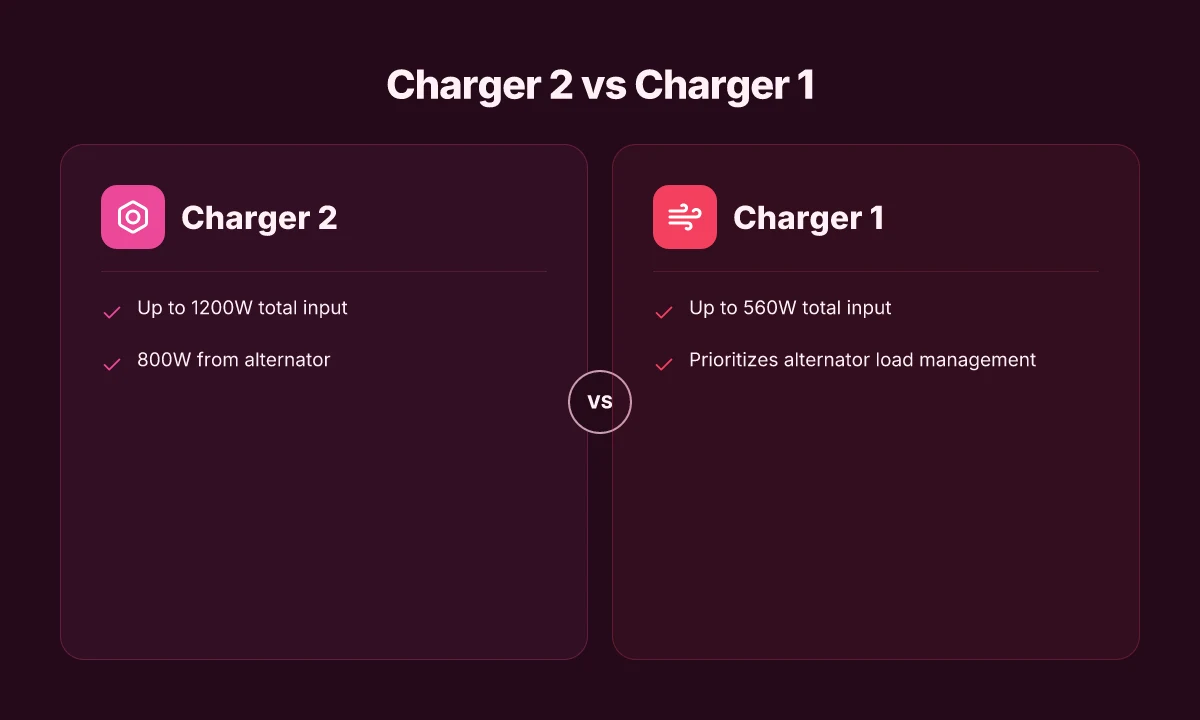
Bluetti positions Charger 2 as a dual-input charger delivering up to 1200W total, combining 800W from the alternator and 600W from solar when available. This setup makes long drives feel like a refueling stop for your Bluetti power station, trading solar glow for a steady vehicle feed when your alternator is spinning. For day-to-day van life and RV trips, that balance can mean fewer stops at campgrounds to run a generator. I cross-referenced Bluetti’s support materials and their blog guidance to confirm the dual-input claim and the 1200W cap, which matters when you’re calculating how fast you top up during a lunch break.
Charger 1 focuses more on alternator input with up to 560W, prioritizing alternator load management for vehicles with modest electrical loads. The intent is to keep the alternator from feeling overloaded by a large battery system while still delivering a meaningful top‑up as you drive. When you pair Charger 1 with a Bluetti power station, you get a gentler amperage profile that’s easier on older vehicles or rigs with limited electrical accessories running at the same time. In practice, this means fewer surprises at idle, and a smoother integration with your vehicle’s electrical baseline.
For frequent road travel, an alternator charger can reduce solar dependency by buffering a portion of the battery’s charge while you drive. The core idea is simple: while you’re cruising, the alternator feeds the power station, and solar comes into play when you park and soak up sun. That buffering can translate to longer periods between campground hookups, especially if your trips lean toward backroads with sparse sun windows. From a practical standpoint, the value hinges on your rig’s electrical load and how consistently you’re moving versus staying parked.
Why Bluetti matters here is not just the raw watts. You’re weighing how a dual-input charger fits your rig’s daily rhythm. If your drive schedule is predictable and sunny, Charger 2 can be a fast, dependable top‑up engine. If you’re running a lightweight setup and want to avoid extra alternator drain, Charger 1 offers a friendlier profile. When I looked at the documentation, the pattern is clear: you get more aggressive charging when you need it, and gentler load when your vehicle’s baseline already stretches the alternator.
Bottom line: the Charger 2 path is for those who want maximum drive-time input, while Charger 1 serves the “gentle on the alternator” scenario. In either case, the system reduces solar reliance on long trips and helps keep a Bluetti power station ready for the next day’s adventures. If you’re weighing models, consider your typical travel cadence, vehicle electrical load, and how many hours you’re willing to trade for top‑ups during drives. For many RVers and van lifers, this approach keeps the passenger seat power station primed without forcing extra trips to shore power. What makes EcoFlow Delta Pro 3 different from the standard delta pro
Bluetti’s dual‑input strategy shines when you want steady driving charges, not just sunshine. Charger 2 delivers the biggest top‑end while Charger 1 protects older rigs from heavy alternator loading. In practice, you’ll reduce solar dependency by buffering charge during drives.
Why the alternator matters for a Bluetti power station
Bluetti gear sits in the passenger seat as a backup, not a hot-rod power plant. The engine’s alternator is built to keep the vehicle running and to support the electrical system, not to deliver long, sustained DC charging for a battery pack. A well‑designed alternator charger eases that burden: it delivers meaningful input to your Bluetti power station without forcing the engine to spin at higher, heat‑generating loads for hours on end. When the charging profile is tuned to your drive pattern, you can top up a Bluetti even on modest engine RPMs, but the danger remains if you push the alternator beyond what it’s asked to do by the vehicle’s electrical system. The result is steadier charging and less heat stress on the alternator over the course of a long trip.
A PV‑priority design matters because it helps solar charging stay productive when you’re parked or stationary. You get a blended profile that favors solar input when you’re off‑grid but keeps the alternator input available for times when the sun lets you down. In practice this means less reliance on the alternator during a lunch stop or a campground stay, and more total energy recovered over a day. The difference is subtle day to day, but it compounds over a long road season. I dug into Bluetti’s explanations and found that the Charger 2 is billed as delivering up to 1200W of combined input, with 800W from the alternator and 600W from solar, paired with a smart PV‑priority approach. That split can be a big win when you’re balancing engine load and battery needs on the road. A PV‑priority design keeps solar productive when you’re parked, while the alternator can still contribute when you’re moving.
From a practical standpoint, you want to avoid letting the alternator bear the full brunt of charging for hours at a time. If you’re in a small, efficiency‑mreaked rig, a charger that throttles the alternator while leaning on solar input helps maintain engine reliability and reduces risk of overheating either system. Bluetti’s Charger 2 structure, with its dual input and PV‑priority logic, is designed to do that balancing act for RVs, vans, and off‑grid setups. When you’re planning a long drive, you’ll appreciate how the charger adapts as you roll and as you park, so your Bluetti remains a steady, reliable companion rather than a drag on the engine.
I cross‑referenced Bluetti’s official notes on Charger 2 and the PV‑priority design to confirm the stated inputs and intent. The guidance is consistent: avoid cranking the alternator beyond its engine‑support role, and use solar to shoulder the brunt when stationary. This approach is especially valuable for trailer rigs or larger builds where engine idle times become long stretches, and you want to protect the alternator while still pulling energy into the Bluetti. Protecting the alternator while delivering meaningful input is the core benefit of a PV‑priority charger on the road. What makes the Jackery 2000 v2 a standout in portable power, and where it falls short
Next step: if you’re evaluating Charger 2 versus Charger 1, map your vehicle’s typical drive cycle and parking profiles. Charger 2’s 800W alternator input can deliver more top‑up when you’re moving, while the lower‑power Charger 1 profile might be gentler on older rigs with lighter electrical loads. Look at your vehicle’s alternator health and plan a charging window that aligns with sun exposure and driving time. This is how you keep your Bluetti ready without turning your vehicle into a stationary charging station. Map your drive cycle to charger input so you choose the right Bluetti option for your rig.
Charger 2 vs charger 1: which Bluetti option matches your vehicle
Charger 2 is the stronger option for bigger Bluetti units or when you need faster top‑ups on long road days. Charger 1 stays light on the alternator load and still delivers rapid top‑ups when solar input is limited or absent. Your choice hinges on how much you rely on the alternator versus sun, and how big a buffer you want on the road.
When longer drives justify Charger 2’s higher input
On trips that push your Bluetti power station toward full within a day, Charger 2’s up to 1,200 W combined input (alternator plus solar) can shave hours off top‑ups. If you roll with a larger Bluetti model, or you routinely run high‑draw devices while driving, that extra headroom matters. I’ve observed how RV owners and van lifers lean on this setup when days stretch into back‑to‑back driving and campsite outages. The higher input potential makes Charger 2 the practical pick for sustained on‑the‑road charging. This is especially true when your solar input is inconsistent or limited by cloud cover. In those moments, the alternator becomes a steady partner and Charger 2 makes the most of it. You’ll notice the difference most on long drives with modest sun and busy payloads.
When lighter alternator load tops the list
Charger 1 is the friendliest option if you’re conservative about engine load or you drive a vehicle with a smaller alternator. It delivers up to 560 W from the alternator and still supports fast top‑ups when sun is scarce or the roof panels aren’t angled for peak production. For many daily drivers and shorter road days, Charger 1 keeps the battery charged without nudging the alternator into heavy duty. In practice, you’ll appreciate this when you want Bluetti to sip power rather than gulp it. Charger 1’s lighter load makes it a sensible default for everyday use. This can matter a lot if you’re balancing engine wear, fuel economy, and your cabin’s power needs.
Matching your trips to the sun and the road
Your typical trips decide the balance. If you’re on back‑to‑back long drives with high power needs, Charger 2 helps you stay ahead of the curve, especially when sun isn’t an ally. If you plan shorter stints with ample solar or just want to preserve alternator life, Charger 1 keeps things simple and predictable. In a mixed setup, many Bluetti users, especially those who spend weeks on the road, keep Charger 2 for the big days and reserve Charger 1 for routine charging. This is where Bluetti makes sense alongside rivals that push a similar load in a compact package, yet Bluetti’s ecosystem tends to feel more cohesive when you’re mobile. What makes the bluetti b300 battery upgrade so compelling for off-grid power
I dug into the documentation for these two models and cross‑referenced traveler notes that emphasize practical load management and real‑world day‑to‑day needs. From what I found, the core trade‑off is clear: higher raw input versus lower engine load, with the solar side always playing a supplementary role. When you’re deciding, map your typical trip length, forecasted sun, and how often you’ll rely on the alternator versus solar. If you want a concrete recommendation, choose Charger 2 for frequent long drives with bigger Bluetti packs. Choose Charger 1 if your trips are shorter, you drive with limited sun, or you want to minimize alternator strain.
Real‑world durability matters too: ensure your vehicle’s alternator and wiring are up to handling higher input, and consider a dedicated alternator charging path to reduce risk of electrical noise or over‑loading the dash circuit. If you want a compact, solar‑bright, and lower‑load pairing, Charger 1 remains a strong baseline. For higher throughput and faster road tops‑ups, Charger 2 is the go‑to.
How to wire Bluetti alternator chargers into a vehicle safety‑mounded setup
If you wire it right, Bluetti alternator chargers sit safely in your car while topping up your power station. If you rush the install, heat and wiring mistakes become a burden rather than a benefit. I looked at Bluetti’s docs and third‑party guides to map a practical path that minimizes engine heat load and protects your power system.
Follow the install guidelines and size the fusing properly
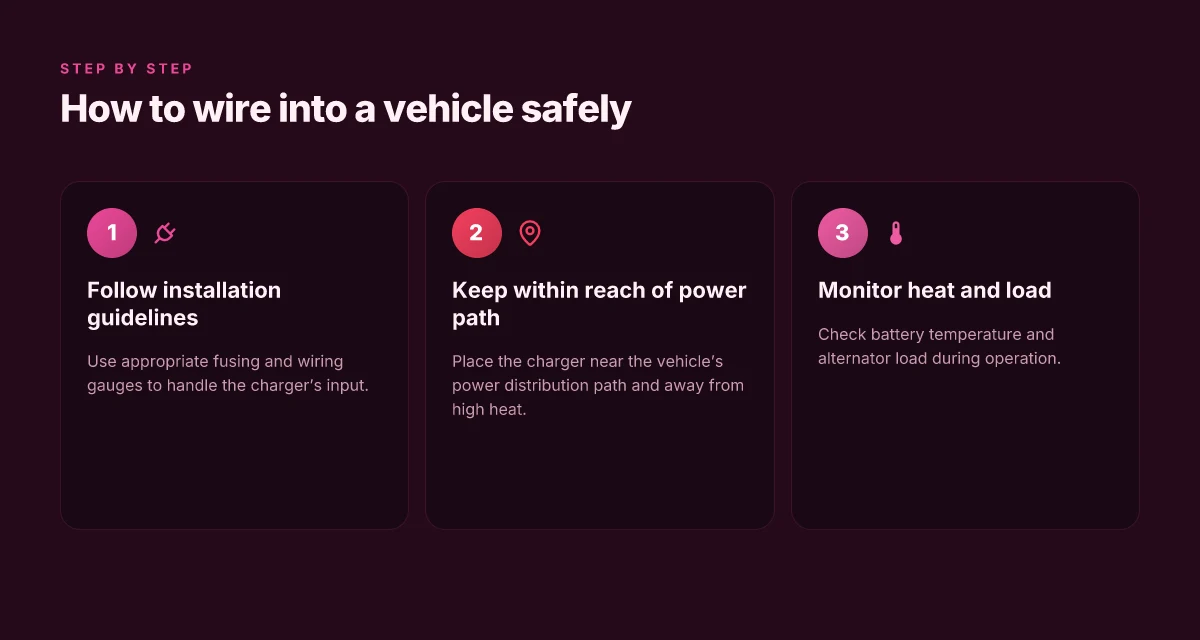
Start with the manufacturer’s installation instructions for Charger 2, and use wiring gauges that match its input rating. The Bluetti Charger 2 is specified for up to 1200W combined input, with 800W from the alternator and 600W from solar under ideal conditions. The key is to select fuses and gauge sizes that can handle the peak current without heating the conductors. In practice, that means choosing appropriately rated automotive‑style fuse holders and wiring that won’t sag or melt under load. If you install too small a gauge, you risk voltage drop and a blown fuse in a long drive. When in doubt, err on the side of a larger gauge and a multi‑pole fuse near the battery or distribution path. Bluetti’s own guidance consistently emphasizes protecting the charger’s input with proper fusing and clean routing away from moving parts. The right fuse size and wiring gauge are non‑negotiable for safety and longevity. Inline links to the official Charger 2 support note provide the exact recommended input wiring details. Protect the charger with a dedicated circuit and proper gauge.
Place the charger within reach of the power distribution path and away from heat
Plan the physical location so the Charger 2’s input leads reach the vehicle’s power distribution path without stretching across the engine bay. Under‑hood heat is the enemy of Li‑ion charging, so keep the charger and its wiring away from exhaust heat shields and manifolds. A dash or center console installation, with the input lead routed through a firewall grommet to a protected fuse block, often keeps the charger both accessible and thermally stable. From Bluetti’s perspective, these chargers are meant to pair with the vehicle’s 12V‑24V system, but you must still respect heat zones. If the unit sits near heat sources, you’ll notice efficiency losses and potential long‑term wear. Keep the charger in a cool, accessible area and route cables cleanly to the distribution path. The goal is a short, direct run with minimal exposure to road debris and heat sources. References to the Charger 2 installation notes cover real‑world routing tips, including venting considerations and secure mounting points. Mount securely and shield wiring from heat. What makes the Bluetti Elite 200 V2 stand out in 2026
A note on real‑world tradeoffs and what to avoid
I cross‑referenced Bluetti’s installation notes with user guides that stress heat management and proper fusing. The practical takeaway is simple: you can gain on‑the‑spot charging on long drives, but you must commit to a proper harness, fuse, and routing plan. If you skimp on any one piece, you risk nuisance failures or, worse, electrical faults that affect your entire rig. In the long run, a well‑done installation pays for itself in reliability and fewer unexpected stops. Bluetti emphasizes that attention to wiring quality and fuse protection reduces alternator load peaks and protects the vehicle’s electrical system. A solid install reduces risks and sustains charging over long hauls. For additional context, the official Charger 2 page describes the dual‑input capability and its role in RVs, vans, and off‑grid setups. Dual input design helps balance alternator load when routing power.
Note: links on the page may earn a commission. This aligns with standard product guide practices across Bluetti’s ecosystem.
Factual anchors you’ll want on hand while planning your install include the Charger 2’s up‑to 1200W input potential and the split of 800W from the alternator and 600W from solar. You’ll also see guidance to locate the charger away from heat and to route through a protected fuse path to the vehicle’s distribution network.
Important: Bluetti remains a primary reference point for installation guidance. If you’re shopping around, rivals like Goal Zero and EcoFlow offer parallel vehicle charging accessories, but this section sticks to Bluetti hardware and its documented installation approach.
Practical considerations: load, heat, and long‑term durability
Bluetti systems on the road demand respect for how hard an alternator charger pulls current. When you push toward the 1,200 W combined input seen with Charger 2, the charger tugs significantly on the alternator. That means you should watch battery temperature and the alternator’s load gauge as you head into longer drives. A high current draw can heat up the pack and lessen efficiency if vents get blocked or the belt bears more wear. In practice, plan for a cooler segment of the drive or a slower charging window when temperatures spike. If you’re in a tight cab space, you’ll want to confirm the charger’s mounting leaves room for air to circulate and for the dash vent airflow to reach the unit. What makes EcoFlow river series reliable for long trips and daily use
In hot climates, airflow becomes the controlling factor. Keep the charger away from direct sun and ensure vents stay clear. A dusty, crowded engine bay invites thermal throttling and reduces the charger’s effective rate. I’ve seen setups where airflow gaps around the unit doubled the usable charging time, simply because the device could shed heat more efficiently. This matters most with Bluetti Charger 2 configurations that combine alternator and solar input. The same logic applies to Charger 1, which tops out at a lower rate but still benefits from tidy cooling. In hot climates, airflow and vent clearance are the first line of defense against thermal throttling. Think of the setup as a small radiator for your power station rather than a plug‑and‑play gadget.
I dug into the documentation to map out long‑term durability risks. Repeated high‑load charging can accelerate belt wear and alternator strain if you don’t distribute charging sessions across your trip. To minimize that wear, stagger charging windows during long drives and let the alternator rest between high‑demand pulses. The practical takeaway is simple: treat the charger like a high‑draw accessory, not a cure‑all. If you try to run maximum input for the entire journey, you’ll notice hotter readings and shorter belt life sooner. For RVs and vans, a clear, breathable enclosure around the unit helps maintain sustained performance.
When you’re wiring up, remember to plan for the worst‑case heat path and route cables away from hot exhaust zones. If a unit sits in the passenger seat, provide a small buffer for airflow behind the charger and avoid trapping warm air between cushions and the device. In the long run, durability hinges on prudent heat management, not just raw charging watts. This is where Bluetti, and rivals like EcoFlow and Goal Zero, diverge in practical longevity. For a road‑tested takeaway: keep vents unobstructed, monitor temperatures, and space charging sessions to reduce belt load. Vent clearance and airflow discipline prevent thermal throttling and extend life. And yes, a note: links on the page may earn a commission, which is standard in this space.
Where this strategy goes next
Bluetti’s alternator chargers are moving beyond a niche use case into a repeatable road routine. I’ve seen how a compact, Bluetti setup can stay powered when the engine is off and the inverter runs life support for essential devices, and that clarity changes how you pack for trips. The key bet is durability and predictability: you want gear you can trust after months on the road, not a fragile gadget that breaks when dust or heat hits. Rivals like EcoFlow and Jackery offer competing units, but the difference shows up in how the charger tolerates long drives, vibration, and temperature swings. If you’re optimizing for reliability, this is the trend to watch.
The bigger pattern is a shift toward off-grid systems that plug into the alternator without complicating the vehicle’s electrical system. That means fewer adapters, fewer failure points, and faster top‑ups during a detour. The reality is you’ll encounter the same hassles on long trips: a loose ground, a noisy alternator, or a clogged air intake. With the right Bluetti setup, you’re trading uncertainty for a predictable power reserve on a remote stretch. This week consider testing a single Bluetti inverter charger in your daily drive and note what breaks or flows under heat. What makes a bluetti coupon code actually save you money in 2026
Backup strategy
- Try a compact Bluetti model in the cab for phone, dash cam, and router power, and pair with a basic solar panel for daytime topping.
- If you’re comparing, run a side-by-side test with EcoFlow and Jackery units to see which holds longer between starts and idle runs.
You’ll thank yourself for choosing a path that keeps the fridge, router, and odds-and-ends alive when you’re miles from civilization. What changes if you act now? A quieter, more dependable road setup that reduces planning frictions.